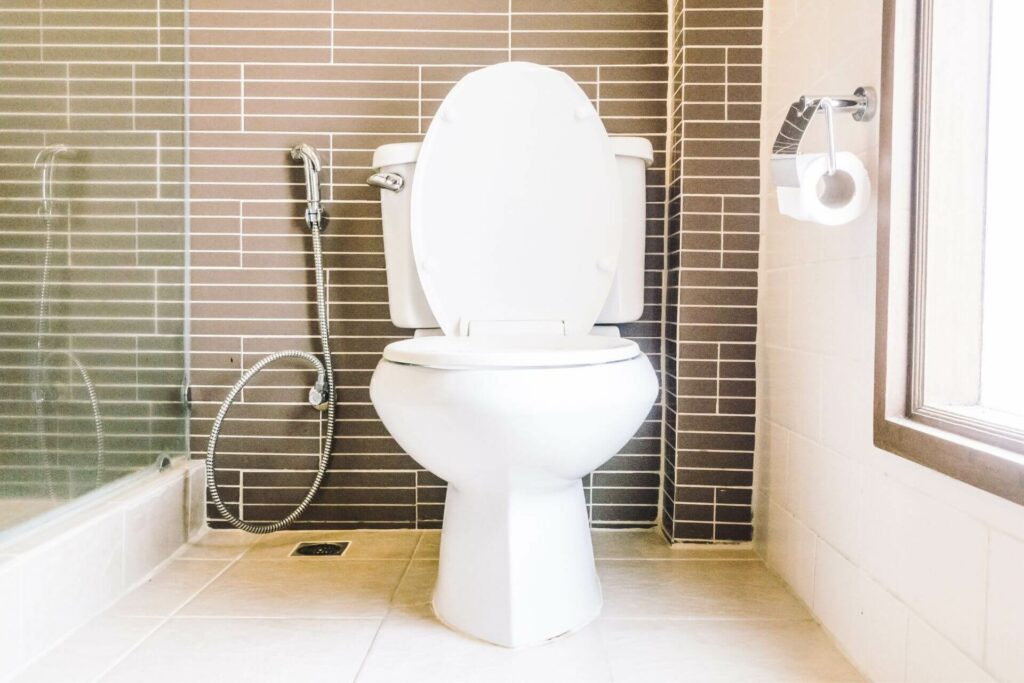
Replacing a toilet cistern is a practical skill that can save time and money. Whether you’re upgrading your bathroom or addressing a malfunction, learning how to replace a cistern is an essential aspect of home plumbing work. This guide by Burns Plumbing will walk you through the process, ensuring you can tackle the task with confidence and precision.
Understanding When You Need to Replace Toilet Cistern
Several signs indicate the need for a replacement cistern, from persistent leaks to inefficient flushing. Recognising these signs early can prevent water wastage and potential damage.
Persistent Leaks
If you notice water constantly leaking from the cistern, even after replacing washers and seals, it might be time for a new cistern. Cracks or damages in the cistern body cannot be repaired and necessitate a replacement.
Inefficient Flushing
An old or faulty cistern may struggle to provide enough water for an effective flush. This inefficiency can lead to increased water usage and higher bills.
Damaged Inlet or Outlet Valves
Over time, the valves that control water flow into and out of the cistern can wear out or become damaged. Replacing the entire cistern may be more cost-effective than multiple repairs.
Worn Out Internal Mechanisms
The internal mechanisms, including the flush button or lever, inlet, and outlet valves, can wear out. If these parts are outdated or no longer compatible with modern replacements, a new cistern is necessary.
Tools and Materials Needed to Change a Toilet Cistern
Replacing a toilet cistern requires specific tools and materials. Having everything you need before starting the job ensures a smooth and efficient process.
- Adjustable Wrench: For loosening and tightening nuts and bolts.
- Screwdriver: Needed for various screws during the disassembly and reassembly of the cistern.
- Pipe Wrench: Useful for handling the water inlet pipe and other plumbing fittings.
- Replacement Cistern: Ensure it’s compatible with your toilet and meets your flushing needs.
- New Washers and Seals: To ensure a watertight seal around the inlet pipe and between the cistern and toilet bowl.
- Towels and Sponge: For cleaning up any spilled water and drying areas before installation.
- PTFE Tape: For securing threaded connections and preventing leaks at the water inlet pipe.
Removing the Old Cistern: Step-by-Step
Replacing your toilet cistern can seem daunting, but with the right approach, it’s a task that can be tackled with confidence. Whether your cistern is leaking, the toilet won’t flush correctly, or you’re simply upgrading to a more efficient model, following these steps will ensure a smooth removal process. Here’s how to remove the old cistern:
1. Turn Off the Water Supply
- Locate the Water Inlet Valve: Usually found near the bottom of the cistern or close to the toilet.
- Shut Off the Valve: Turn the valve clockwise to cut off the water supply to the cistern, preventing any more water from entering.
2. Flush the Toilet to Empty the Cistern
- Empty the Cistern: Press the flush lever to drain as much water as possible from the cistern to the bowl.
- Remove Remaining Water: Use a sponge or towel to soak up any remaining water in the cistern.
3. Disconnect the Water Supply Line
- Locate the Connection: Find where the water inlet hose connects to the bottom of the toilet cistern.
- Disconnect the Hose: Use an adjustable wrench to loosen the connection and detach the water inlet hose.
4. Unscrew and Remove the Cistern from the Toilet Bowl
- Access the Cistern Bolts: These are typically located inside the cistern and secure it to the toilet bowl.
- Remove Nuts and Bolts: Use a wrench to loosen and remove the nuts and bolts holding the cistern to the bowl.
5. Clean the Area for the New Cistern Installation
- Wipe Down Surfaces: Clean the area where the cistern was attached to the toilet bowl, removing any old sealant or debris.
- Prepare for New Installation: Ensure the surface is dry and clean before installing the new cistern.
Installing the New Toilet Cistern in 7 Simple Steps
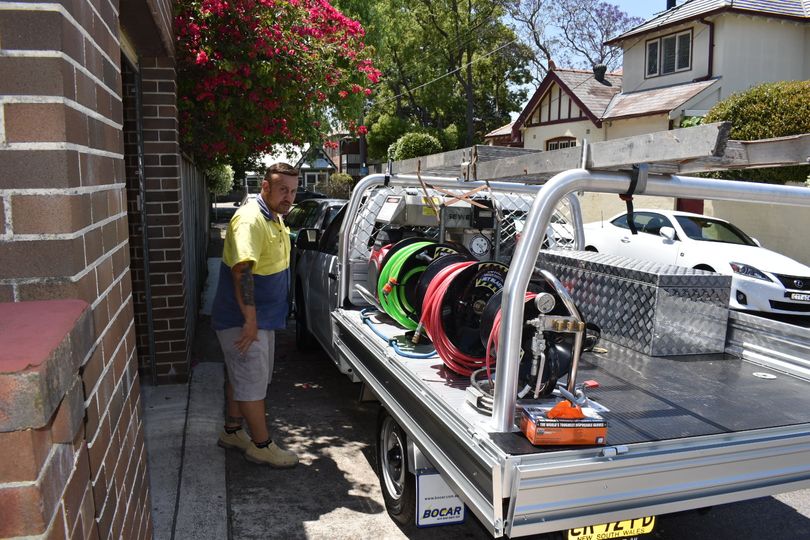
Upgrading your bathroom with a replacement toilet cistern can refresh your toilet’s functionality and efficiency. While tackling toilet plumbing might seem daunting, installing a new cistern can be relatively simple with the right approach and understanding of the cistern components. Follow these 7 easy steps to install your new toilet cistern and ensure your toilet repairs and replacements enhance your bathroom’s plumbing system.
1. Check the Cistern Fittings and Assembly
- Inspect the New Cistern: Before installation, examine the new cistern for any damage and familiarize yourself with the parts inside the cistern.
- Ensure Compatibility: Verify that the replacement toilet cistern fits your toilet pan and aligns with existing plumbing.
2. Position the New Cistern on the Toilet Bowl
Carefully lift the cistern and position it over the toilet bowl, ensuring the inlet pipe at the bottom and the cistern bolts align with the corresponding holes.
3. Secure the Cistern with Screws and Bolts
Attach the cistern to the toilet bowl using the provided screws and bolts. Ensure it’s firmly in place but avoid overtightening, which could crack the ceramic.
4. Attach the Flush Mechanism
Following the manufacturer’s instructions, install the flush mechanism inside the cistern, which is crucial for making the flush happen.
5. Connect the Water Supply Line to the Cistern
Connect the water supply line back to the inlet pipe at the bottom of the cistern. Use plumbers’ tape to secure the connection and prevent leaks.
6. Turn on the Water Supply and Check for Leaks
Slowly turn on the water supply valve and observe as the cistern fills. Watch for leaks at the connections between the bowl and the cistern, and the water inlet hose.
7. Adjust the Flush Mechanism as Necessary
Once the cistern is full, test the flush to ensure it operates correctly. Adjust the flush mechanism as needed to achieve the correct water level and flushing power.
Finishing Touches: Ensuring a Leak-Free Installation

After installing your new toilet cistern, it’s crucial to perform thorough checks to ensure a leak-free installation. These final steps are essential to prevent water waste and protect your home from potential water damage.
- Double-Check All Connections: Revisit every connection point, including where the cistern attaches to the toilet bowl and the water supply line, to ensure everything is tight and secure.
- Perform a Water Tightness Test: Fill the cistern and observe for any signs of leaking at the base of the cistern or along the water inlet hose. Use coloured water to make leaks easier to spot.
- Test the Flush Several Times: Flushing multiple times helps to identify any issues with the flush mechanism or leaks that only appear under the stress of repeated use.
- Inspect for Stability: Gently apply pressure to the cistern to ensure it’s securely fastened to the wall or toilet bowl without any movement.
Taking the time to carefully complete these finishing touches can save you from future headaches, ensuring your toilet operates efficiently and remains leak-free.
When to Call a Professional Plumber

While many toilet cistern replacements can be straightforward, certain situations require the expertise of a professional plumber:
- Complex Plumbing Systems: If your toilet is part of a complex plumbing system or integrated with features like bidets, it’s wise to consult a professional.
- Persistent Leaks: If leaks continue despite your best efforts, there could be a deeper issue that needs expert attention.
- Upgrading Plumbing: Installing modern cisterns with advanced features may require adjustments to your existing plumbing that are best handled by a professional.
- Legal Requirements: Some regions require plumbing work to be carried out or inspected by licensed professionals to comply with local codes and regulations.
If you find yourself facing any of these situations or simply prefer the assurance of professional workmanship, Burns Plumbing is here to help. With extensive experience in toilet repairs, replacements, and a wide range of plumbing services, our team ensures your installation is performed correctly and efficiently. For peace of mind and expert plumbing solutions, call Burns Plumbing in Sydney at (02) 9072 1165.
